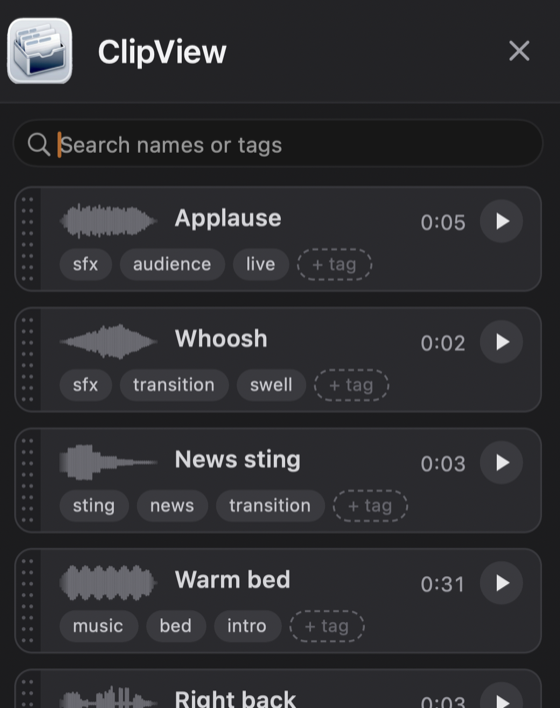
If you make the same kinds of programs again and again, you keep reaching for the same few sounds: a sign-off, a bed, a sting. ClipView (it was called Clip Keeper in earlier versions) is a drawer of cards, one for each sound you want close at hand. The cards are kept across every project, so a sound you save on Monday is waiting on Tuesday, in a different show.
Tap I, or choose Clip ▸ Show ClipView (the item reads Hide ClipView while it is open). ClipView opens in the drawer at the right edge of the window, in Multitrack Mode and in the Single Track Mode window alike. Tap I again, click the small x at its right, or press Esc to put it away. (If the search box has text in it, the first Esc clears the search and the next one closes ClipView.)
The Clip menu appears in both modes. In Multitrack Mode it still holds the two split commands; in the Single Track Mode window it holds just the two ClipView items.
Mark a selection (or select clips), then choose Clip ▸ Add Selection to ClipView, or right-click the timeline and choose Add to ClipView. A few things to know:
Already have the sound as a file? Drop an audio file from the Finder onto ClipView and it becomes a card.
Each card shows a small waveform, the name, the length (like 0:07) and a round play button, with the tags in a row below.
A new card lands at the top of ClipView with its title reading Name this card, highlighted. Just type to replace it. Return keeps the name and moves on to the card’s tag box; Esc or clicking away leaves it as “Untitled clip,” which you can fix any time.
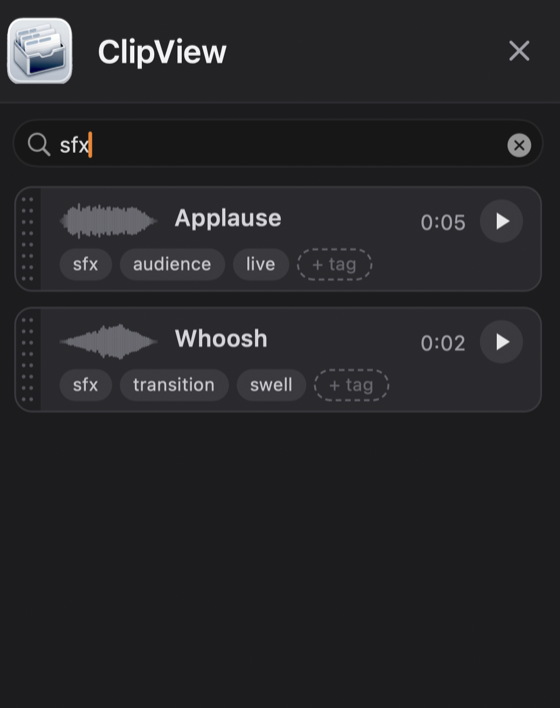
Click a card once and it plays right there. Click it again, or click another card, to stop. The round play button on the card does the same.
The clip is copied into your project, so the project stays self-contained.
Drag a card up or down to put it where you like (not while the search box has text in it). Right-click a card for Put In at the Playhead, Play, Rename, Add a Tag and Remove from ClipView. Removing happens at once, with no question, and it deletes the kept clip only: projects that already use it are unchanged.
From the keyboard. The card you last clicked wears an orange outline. With it selected: ↑ and ↓ move to the next card, Space plays it, Return puts it in, and Delete removes it from ClipView (no question asked). A card that is playing shows a thin orange edge and an orange waveform.
ClipView remembers its own width; drag the drawer’s bar to make it wider or narrower. It follows the interface size (⌘+ and ⌘-) like the other windows.
The kept clips live in FastTracker’s own folder (Application Support/FastTracker/ClipKeeper), not inside any project.
In the Single Track Mode window, Option-click Show ClipView and Add Selection to ClipView in the Clip menu to put them on the favorites bar. Show ClipView is the open tray; Add Selection is the tray with an arrow.