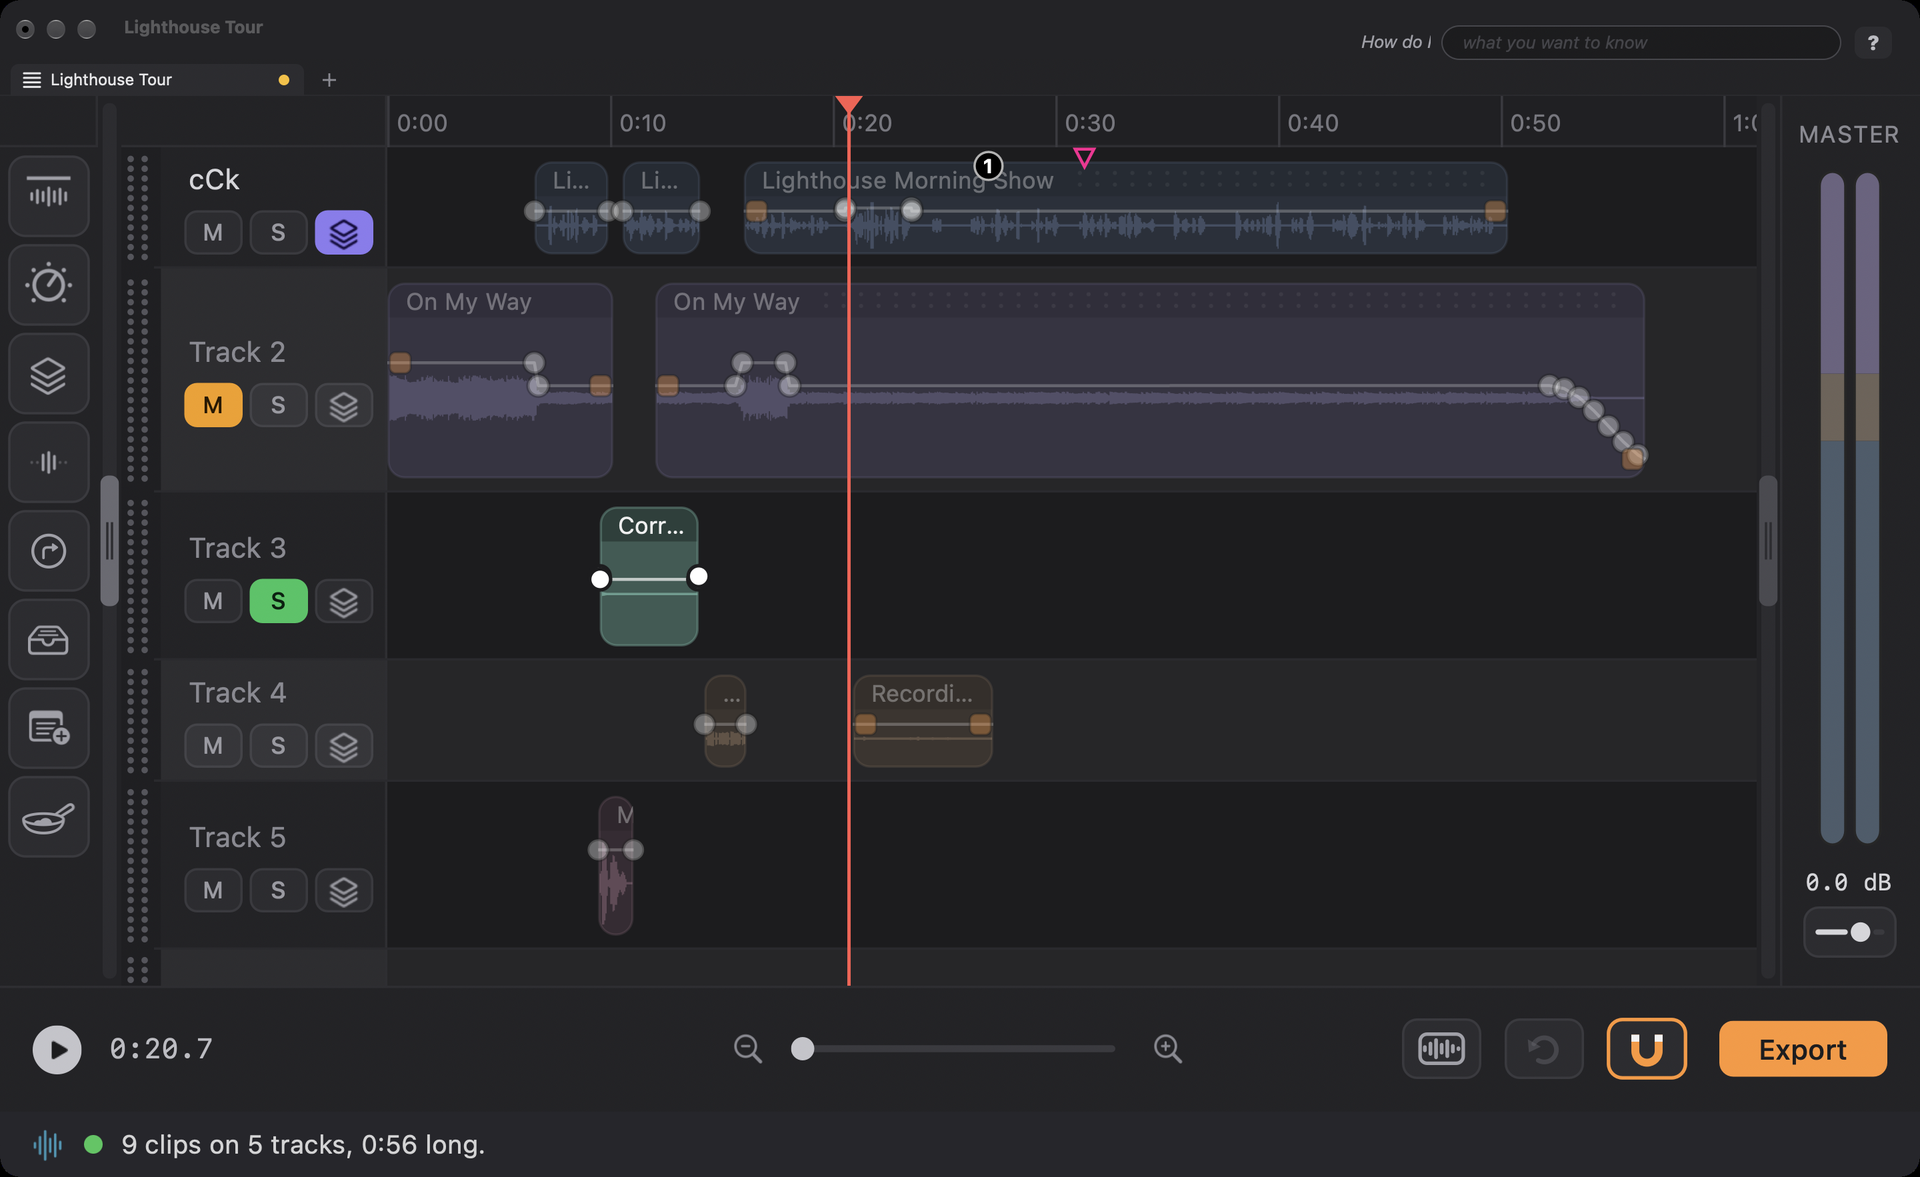
You’ve got clips on tracks. Now let’s make them sound like they belong together. This lesson is a grab bag of the moves you’ll use constantly, and each one is quick.
Every track has an M and an S button, under its name.
Export mixes the project exactly as it sounds, so a muted track will be missing from the finished file. Before you export, take a quick look that you didn’t leave a mute or solo switched on.
Mute just one clip. Select a clip and tap ShiftM: that clip (and only that clip, even if it’s a piece you split from a longer recording) goes silent and is drawn dimmed. Tap ShiftM again to bring it back. With no clip selected, ShiftM mutes or unmutes the chosen track instead. Muting a clip is one undo step, and the muted clip is left out of an export, just like a muted track.
That white line running through every clip is its volume line, also called an envelope. At rest it’s flat, meaning “play as recorded.” Shape it and you shape the volume over time, which is how you fade music in, duck it under a voice, or tame one loud word.

The end squares. Press ShiftE to show the volume lines (press it again to hide them), and you’ll see an orange square at each end of it. The square is the end point of the line. Drag it straight up or down to raise or lower that end of the line, with no fade. Drag it clearly inward, along the clip, and you make a fade in or a fade out: the farther you drag, the longer the fade, and it is a smooth hump of a curve. Drag the square back to the edge of the clip to take the fade away. Each is one Undo step. (The end squares work in Single Track Mode too.) A fade survives trimming: drag the start or end of a clip that has a fade and the fade keeps its length in seconds and stays on the new edge, so the clip still starts or ends in silence. Split a clip inside a fade and each half keeps its part of the curve.
Pick several points. Shift-click points on the line and each one lights up. Drag any picked point and they all move together as a block: up, down or sideways. Delete removes them all, and Shift-click a picked point to let it go. Moving the block, or deleting it, is one Undo step.
Points and the line catch at 0 dB (the pan line at the center): drag one close to it and it snaps there and stays put until you pull well away, so it’s easy to put a point back to “as recorded.” (You can still push a point above 0 dB, up to +6 dB: just keep dragging. Hold ⌥ to turn the snap off for fine control.) To remove a point, click it and press Delete. To start over, right-click the clip and choose Clear All Envelope Points: every point goes and the line is flat again (it’s one undo step, and a clip shown in pan view says Clear All Pan Points instead). The line runs from silence up to +6 dB, and the waveform redraws as you work, so what you see is what you’ll hear.
Select a clip and tap ShiftP. The white line turns bright green and becomes the clip’s pan line: up is right, down is left, and the middle is centered. It works just like the volume line, so ⌘-click to add points and drag to shape it. Tap ShiftP again to go back to volume.

Panning is a balance control: centered leaves the sound alone, and panning to one side turns the other side down. A sound effect swooshing from left to right is a classic, and it makes people sit up.
Put the playhead where you want the cut, point the mouse at the clip, and tap S. The clip under the pointer becomes two clips, right at the playhead. Nothing else is touched, even if other clips are selected or have the playhead running through them too. (If the pointer isn’t over a clip, or the playhead isn’t inside the clip it’s over, S beeps and does nothing.)
To cut every clip under the playhead in one go, on every track, choose Clip ▸ Split All Clips at Playhead. Handy for chopping a whole section out of a show. (⇧S now inserts silence: see the Keys page.)
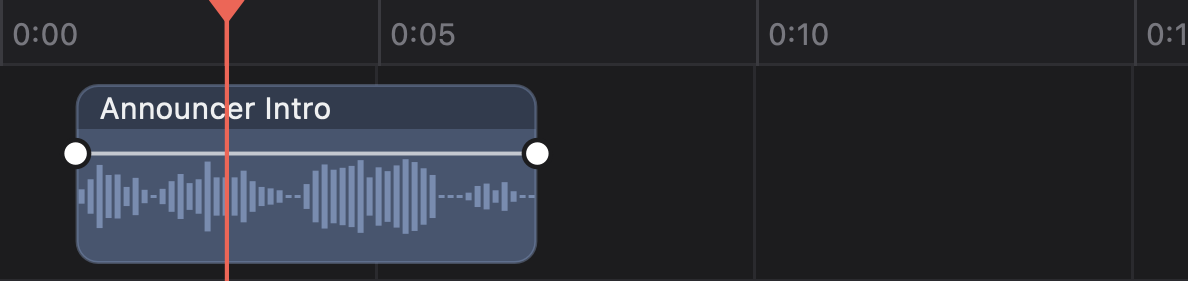
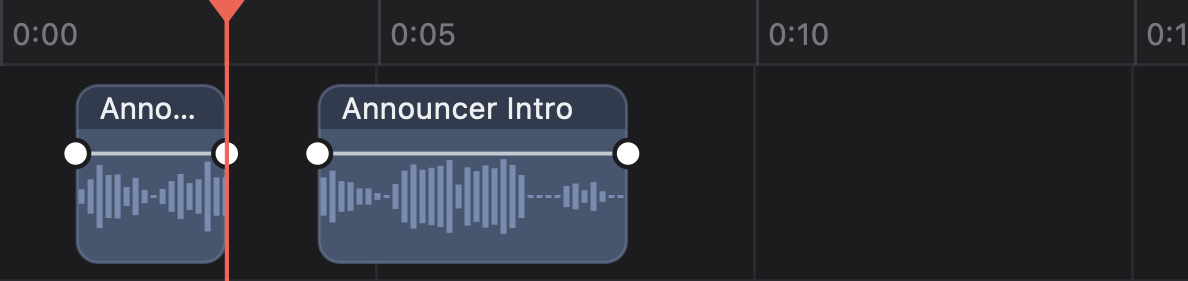
Splitting is how you get rid of a cough in the middle of a take: split before it, split after it, delete the piece in the middle, and slide the remaining clips together.
(If a split beeps and does nothing, a crossfade would end up longer than half of the shorter clip. Move or trim the neighbor first.)
A few ways, all handy:
Selected clips get a bright ring. Everything you do next (move, copy, delete, split) applies to all of them together. Press Esc to deselect.
Several keys act on the chosen track: R records on it, a paste lands on it, ⌘T adds a track below it, C opens the Cookbook for it, and dragging the playhead’s red triangle marks a selection on it. Click the track’s name to choose it, or just click a clip, or an empty spot in its lane: that chooses the track too (its header and lane are tinted). Esc deselects.
Hear something you want to come back to? Tap M. A marker drops at the playhead, whether you are stopped or playing, and a little caret appears in the ruler. With a selection marked, you get one at each end. Want to name it? ⌘M drops a marker and opens its name box, ready to type (in Multitrack Mode, with the playhead still).
A marker is a bookmark; a note is a sticky note. Choose Markers ▸ Add a Note (or tap ShiftN, in either mode; Option-click it in a menu to put it on the favorites bar). A yellow triangle lands in the strip just under the ruler, just to the right of the playhead, and a yellow post-it opens at once with the cursor in it, ready to type.
Notes move along with your audio edits, like markers. They are saved in the project (Multitrack Mode) or in the audio file’s .ftdata file (Single Track Mode), and they travel with the Mode Button.
Want two clips to meet exactly, with no gap and no overlap? Turn on Snap with the magnet button in the lower right. With Snap on, a clip you drag jumps onto the edge of any nearby clip, the playhead, or the start of the project, and a thin orange line shows you what it landed on. Let go and it stays put. It’s a quick way to butt one clip right up against the next, or to line a sound effect up with the playhead.
Snap starts out off, so clips move freely until you ask. Click the magnet again to turn it off, and FastTracker remembers your choice.
Drag a clip to the edge of the window and the view scrolls along with it, so you can snap a clip to something that isn’t on screen yet.
What is ducking? It’s the useful trick of lowering the music while someone talks, then bringing it back up when they stop. The music “ducks” out of the way. It’s why you can hear every word of a commercial even though there’s a full music bed under it.
Why bother? Without it you have two bad choices: music loud enough to sound good, which fights the voice, or music so quiet all the way through that it might as well not be there. Ducking gives you both: big music in the gaps, tucked-in music under the words.
The old way is to draw it by hand: four points on the music’s volume line for every phrase, dragged into place, and then redrawn whenever you move a clip. The FastTracker way is one key.
The music dips wherever there’s a clip on the track above it, a little rubber duck appears beside its name, and from then on the dip follows the voice around by itself. Move the voice and the duck moves with it. Shift-D takes it off.
That’s the short version. Ducking: Music Under a Voice explains exactly how it behaves, how to change how deep the dip is, and why it’s such a timesaver.
If a few clips belong together, like an intro and a tagline that should always stay the same distance apart, select them and tap G. They become a group: each one gets a little chain-link icon at the end of its name bar, and from then on, clicking any of them selects all of them.
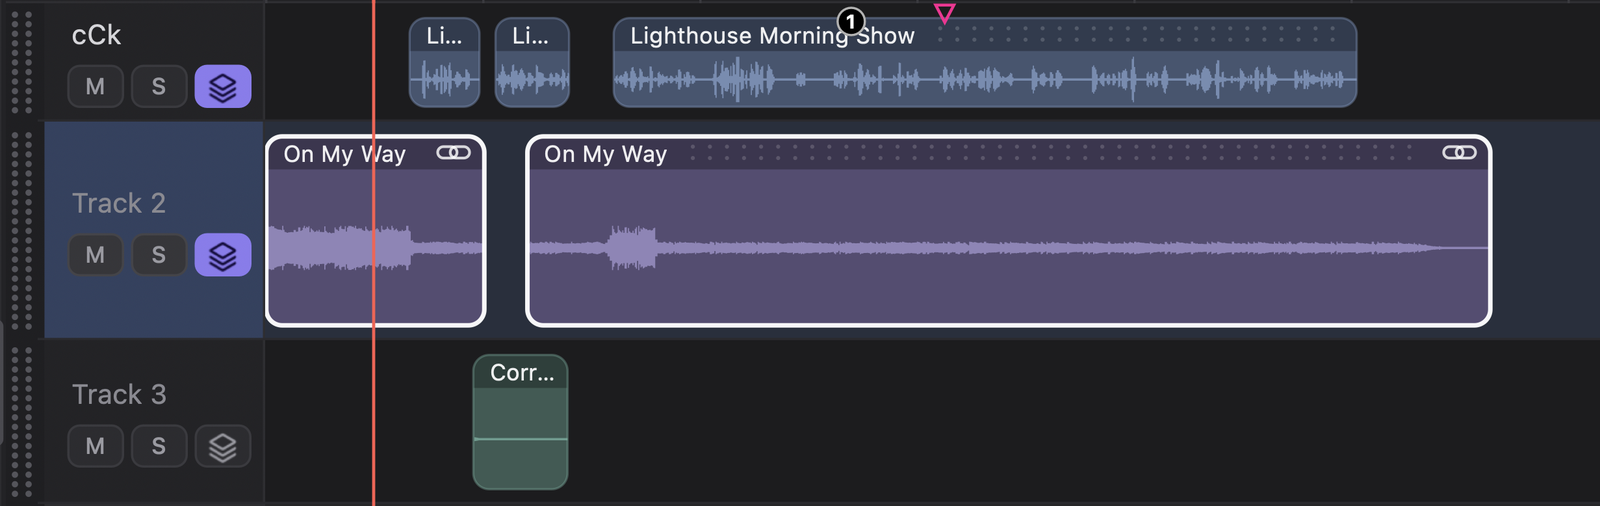
This is where grouping earns its keep. Select the group, copy it (⌘C), move the playhead to where you want the second copy, and paste (⌘V). The whole group lands there with its original spacing, and the copy becomes a new group of its own, so the original stays exactly as it was.

In the case of radio, perfect for a spot you want to run twice, or a sweeper that repeats.
If the pasted group won’t fit on its track at the playhead (another clip is in the way), FastTracker slides it down to the first track where all of it fits, and adds a track if it needs one. It isn’t lost. It’s just a little further down.