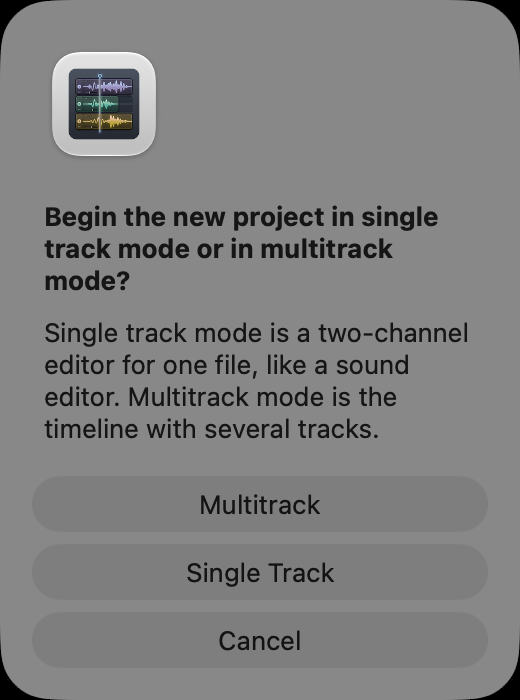
Sometimes you don’t need a whole production. You have one recording and you want it to sound right: a voiceover, a phone interview, a bit of narration. That is what Single Track Mode is for. Everything on screen is that one waveform, so there is nothing to get in the way. (If you are building a show out of several sounds, you want the Multitrack lessons instead; you can always move between the two.)
There are two roads, and they end up in the same place.
Next comes a small New document settings window. Take a breath: nothing here is permanent.
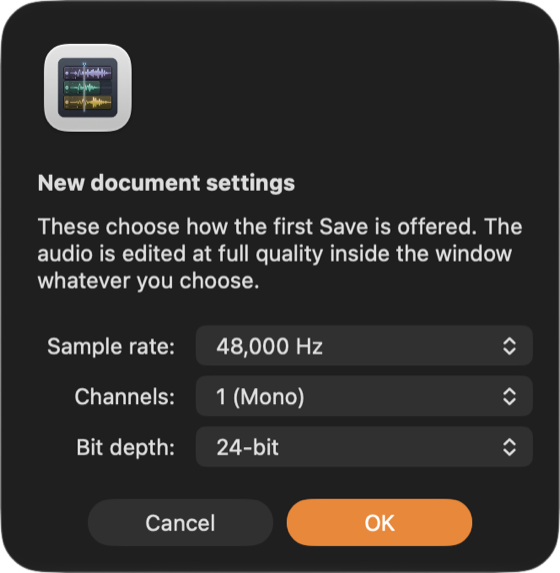
| Setting | What it means |
|---|---|
| Sample rate | How finely the sound is measured: from 22,050 up to 96,000 Hz. 48,000 Hz is a good all-round answer, and 44,100 Hz is the CD standard. |
| Channels | 1 (Mono) for one voice, 2 (Stereo) for music or anything with left and right. |
| Bit depth | How much detail each measurement holds. More bits, bigger file. |
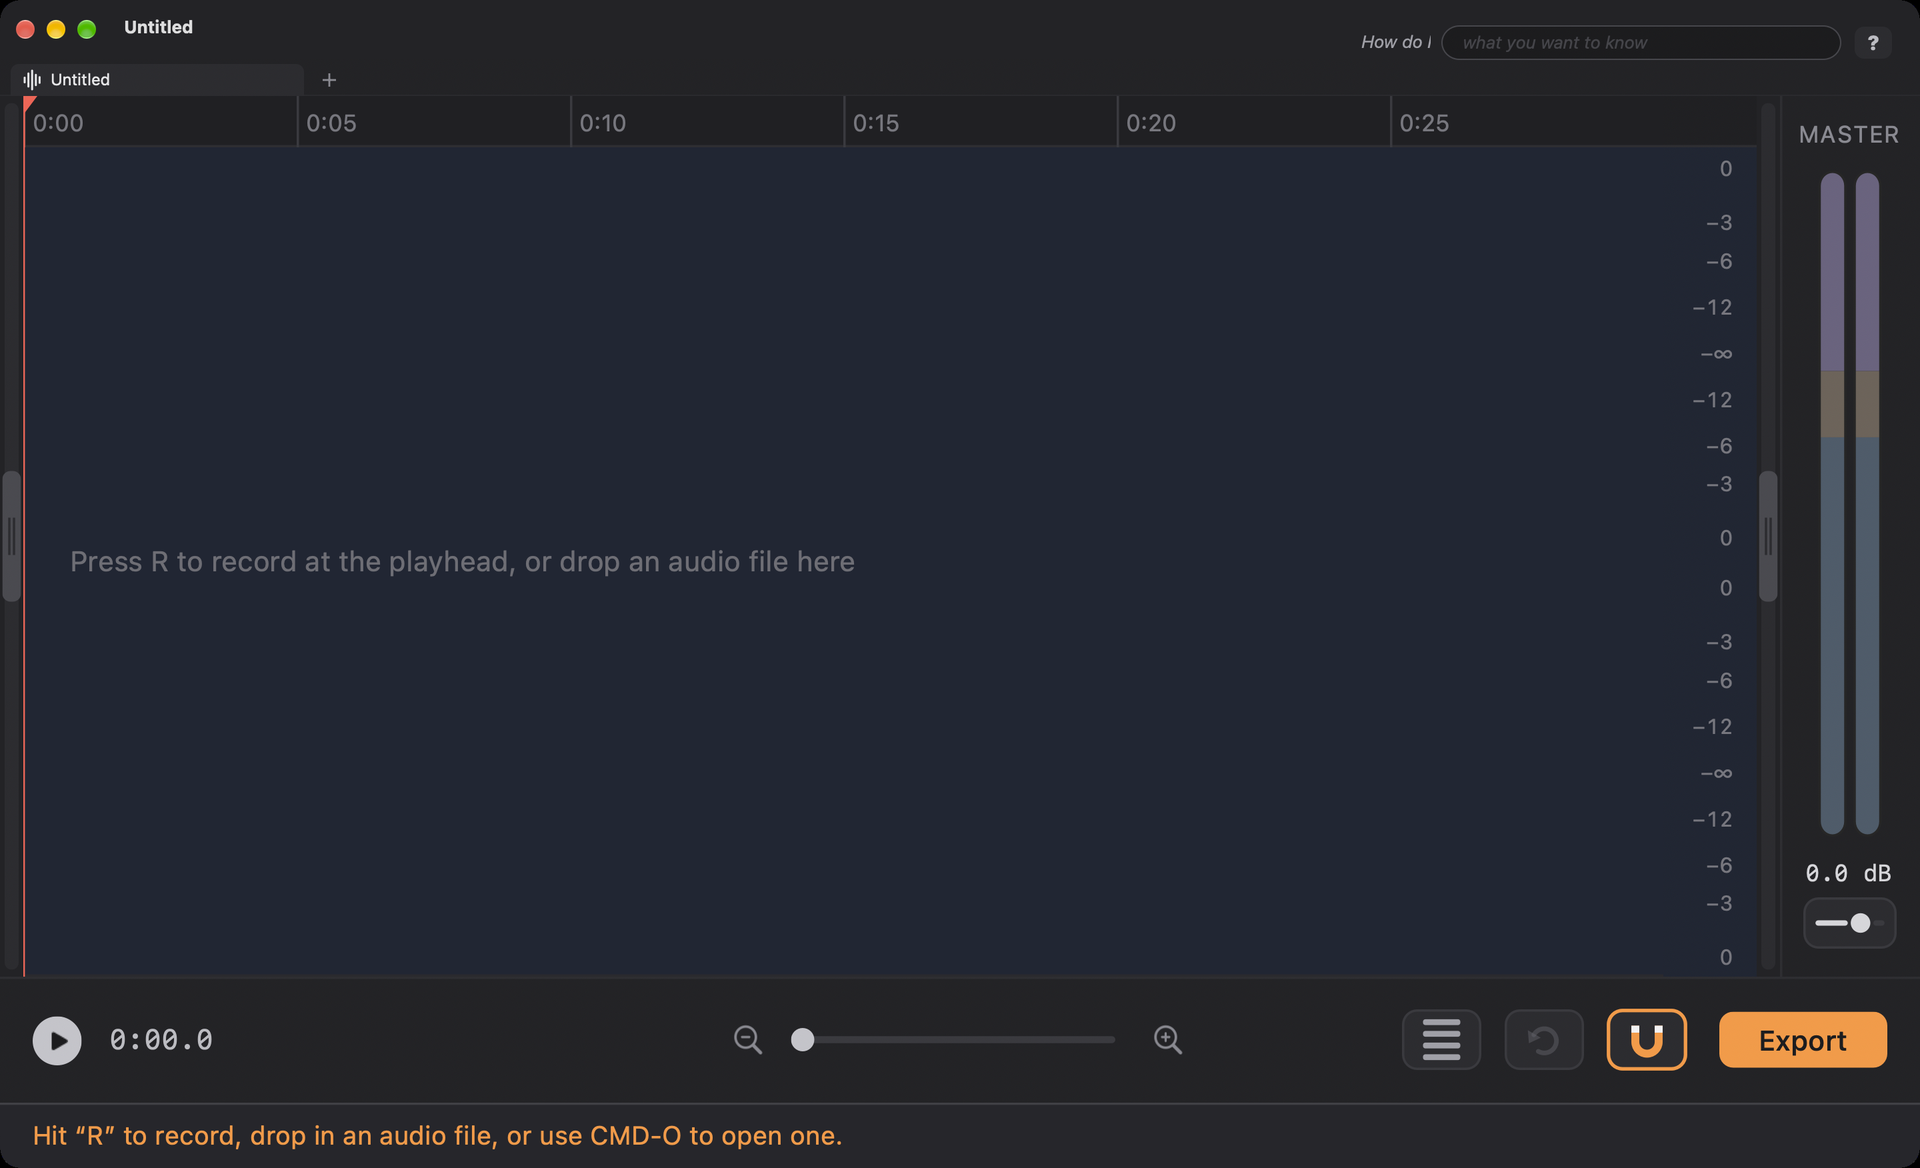
These choose how your first save is offered. Inside the window the audio is always edited at full quality, whatever you choose, and FastTracker remembers your answers for next time. Click OK and you get an empty window in a new tab, with an orange banner at the bottom telling you how to begin: Hit “R” to record, drop in an audio file, or use CMD-O to open one. (Point at the empty part of the waveform and the status bar says the same.) (While it is empty there is nothing to save, and the Mode Button just closes the window.)
Don’t like it? Esc while recording throws the take away, and Undo ⌘Z brings it back. The master meters at the right, and the dB number under them, follow your voice while you record, and the number holds the loudest peak of the take, so you can see at a glance whether you were too hot.
Which microphone, mono or stereo, and how the level is set when a take ends can be chosen in FastTracker ▸ Settings ▸ Recording. The settings are explained in Recording a Voice, and they work the same in both modes.
Recording starts wherever the playhead is, and what you record goes in right there, with everything after it moved along to make room. So you can record into the middle of something that already exists and you won't clobber what comes after.
Open any recording and you will see the same handful of things. (To try it on a file you already have, choose File ▸ Open…, ⌘O, and pick an audio file.)
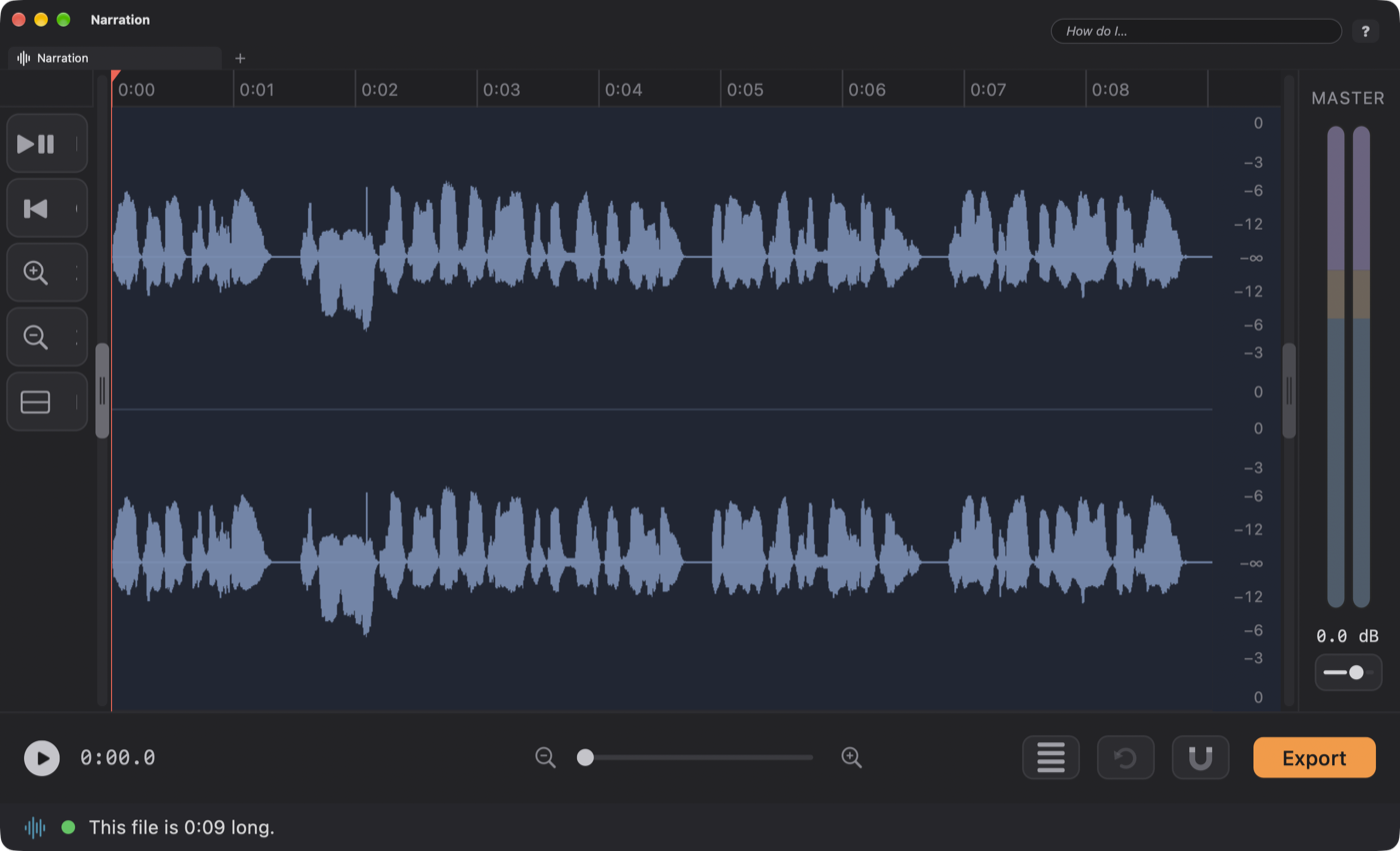
⌘S asks only for a name the first time (the format was chosen when the document was made). After that, ⌘S quietly saves over that file. If you opened an existing audio file, the status bar reminds you: Command and S saves your changes over it; Shift, Command and S saves a copy under another name. That Shift-Command-S panel has a Format menu beside the name, so the copy can be a different kind of file. Until you save, the file on disk is not touched. There is much more about saving in lesson 4.
Next: Tweaking a RecordingCut, fade, level, silence and paste.