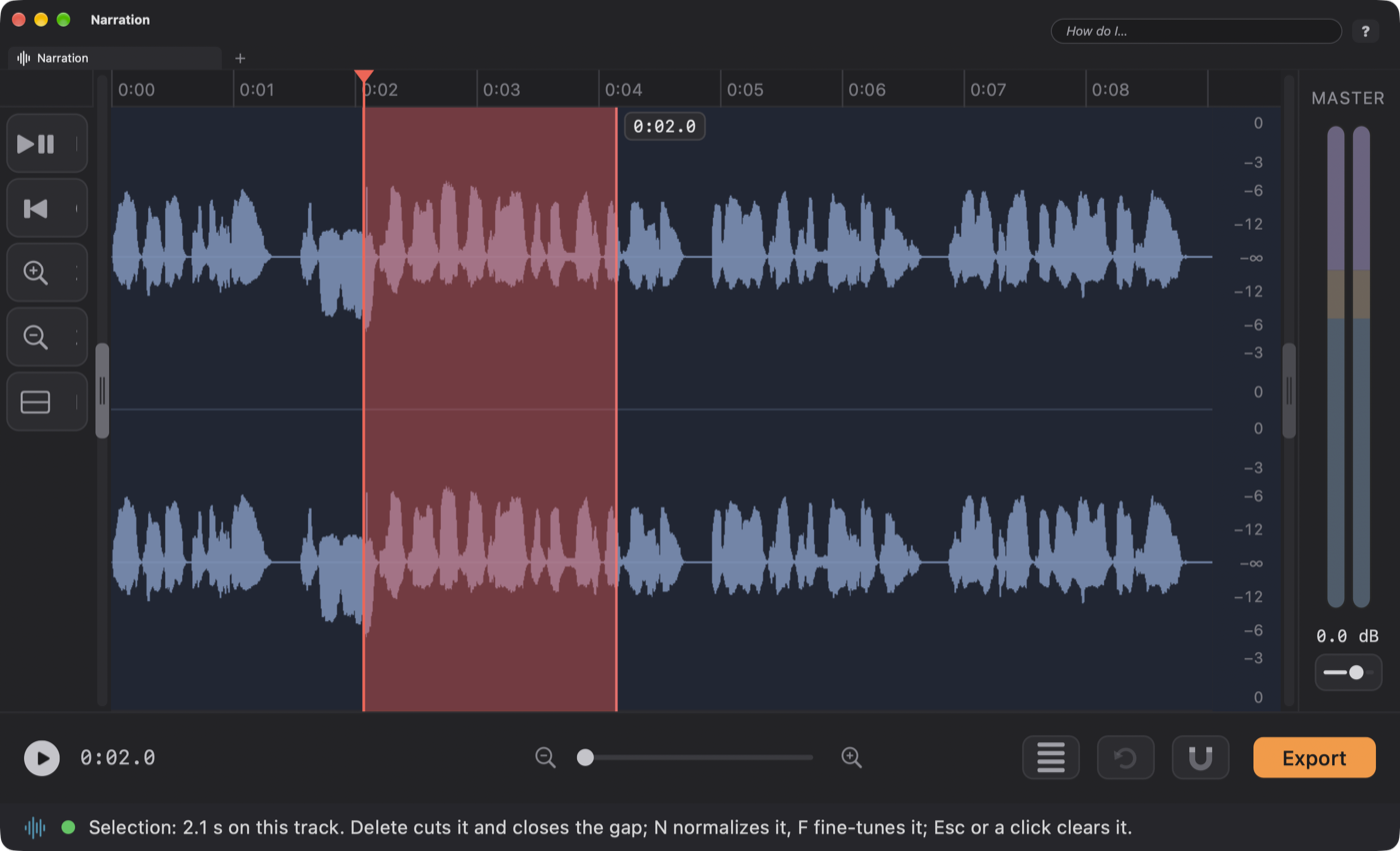
Nothing is permanent until you save. Every edit here can be undone with ⌘Z (and redone with ⇧⌘Z), and a file you opened is not changed on disk until you save it. Experiment freely.
Almost everything here starts with a selection: drag across part of the waveform. It turns into a colored band, and its length (like 0:03.2) appears at the bottom of the selection. The status bar tells you what the keys will now do.
| Do this | To get this |
|---|---|
| Delete | Cut the selection out and close the gap. The cough is gone and nobody ever knew. |
| ⌘X | Cut it, but keep a copy to paste somewhere else. |
| ⌘C, then ⌘V | Copy the selection and paste it in at the playhead. Everything after it moves over to make room. |
You can even copy in one window and paste in another (another tab). To tighten a long pause, select just the pause and press Delete. To keep only the good part, select it and choose Audio ▸ Trim Unselected Audio (ShiftT), which throws away everything else.
Three small windows, one family, all with the same habits: the number box is ready to type in, Return or Apply does it, and Esc backs out. With nothing marked they work on the whole file; with a selection, only on that.
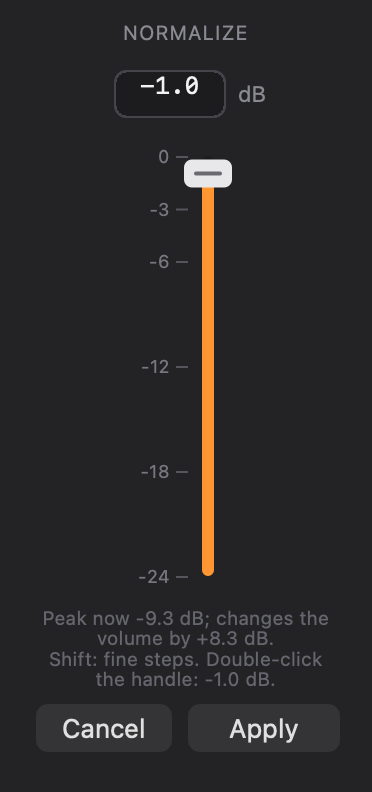
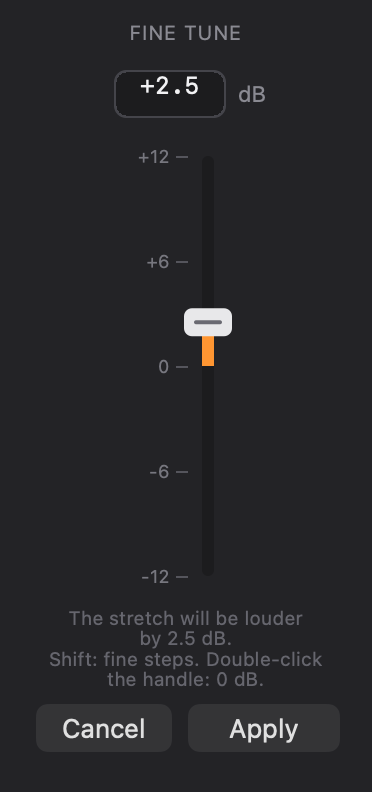
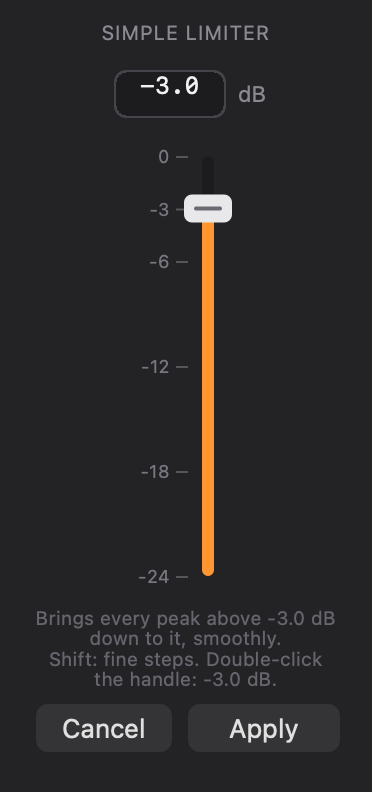
A good order for a quiet recording: Normalize to bring it up, then, if a few peaks are too hot, the Simple Limiter to tame only those. The dB scale at the right of the waveform shows you the result. There is more about these windows in Multitrack Lesson 2.
A breath pop (a plosive) is the puff of air that hits the microphone on a P or a B and sounds like a low thump. Pop Fixer takes it out without touching the voice around it.
The slider. At 50 it notches out the deep low thump and dips the pop itself by about 12 dB; 50 works well for most pops, so leave it there unless you need to move it. Go lower for an unusually mild pop (25 is about half as strong; 0 changes nothing) and higher for an unusually bad one (at 100 the pop is dipped by about 24 dB, and the fix reaches further up to catch more of the thump and quieter pops). A line of help in the window says how many dB it will take the pop down. Only the pop is touched. The window remembers your last setting.
Two more in the Audio menu: Reverse the Selection plays it back to front (mostly for fun and special effects), and Copy One Channel onto the Other (ShiftC) rescues a stereo recording where one side is bad. Mark one channel by Shift-dragging in its lane.
Need a little room, a breath before the next sentence or a pause for effect? Put the playhead there and press ShiftS. A small window asks how many seconds. The silence goes in as real audio, so you can cut it, copy it, fade it or Fine Tune it like anything else, and it works at the very end of the file too. With a selection marked, the silence replaces the selection, at the length you type. Either way nothing is left marked afterward, and the playhead sits at the start of the silence.
Plain paste pushes things along. Paste Over lays the copied audio on top of what is there, at a loudness you choose: ideal for a laugh track, a sting or a little room tone under a voice. Copy a selection, click where it should go and press ShiftO. Full details, with pictures, are in Paste Over.
Make it a habit: listen after every change. Tap Space and hear what you did. If you don’t like it, ⌘Z is right there. Editing is mostly a matter of trying things and listening.